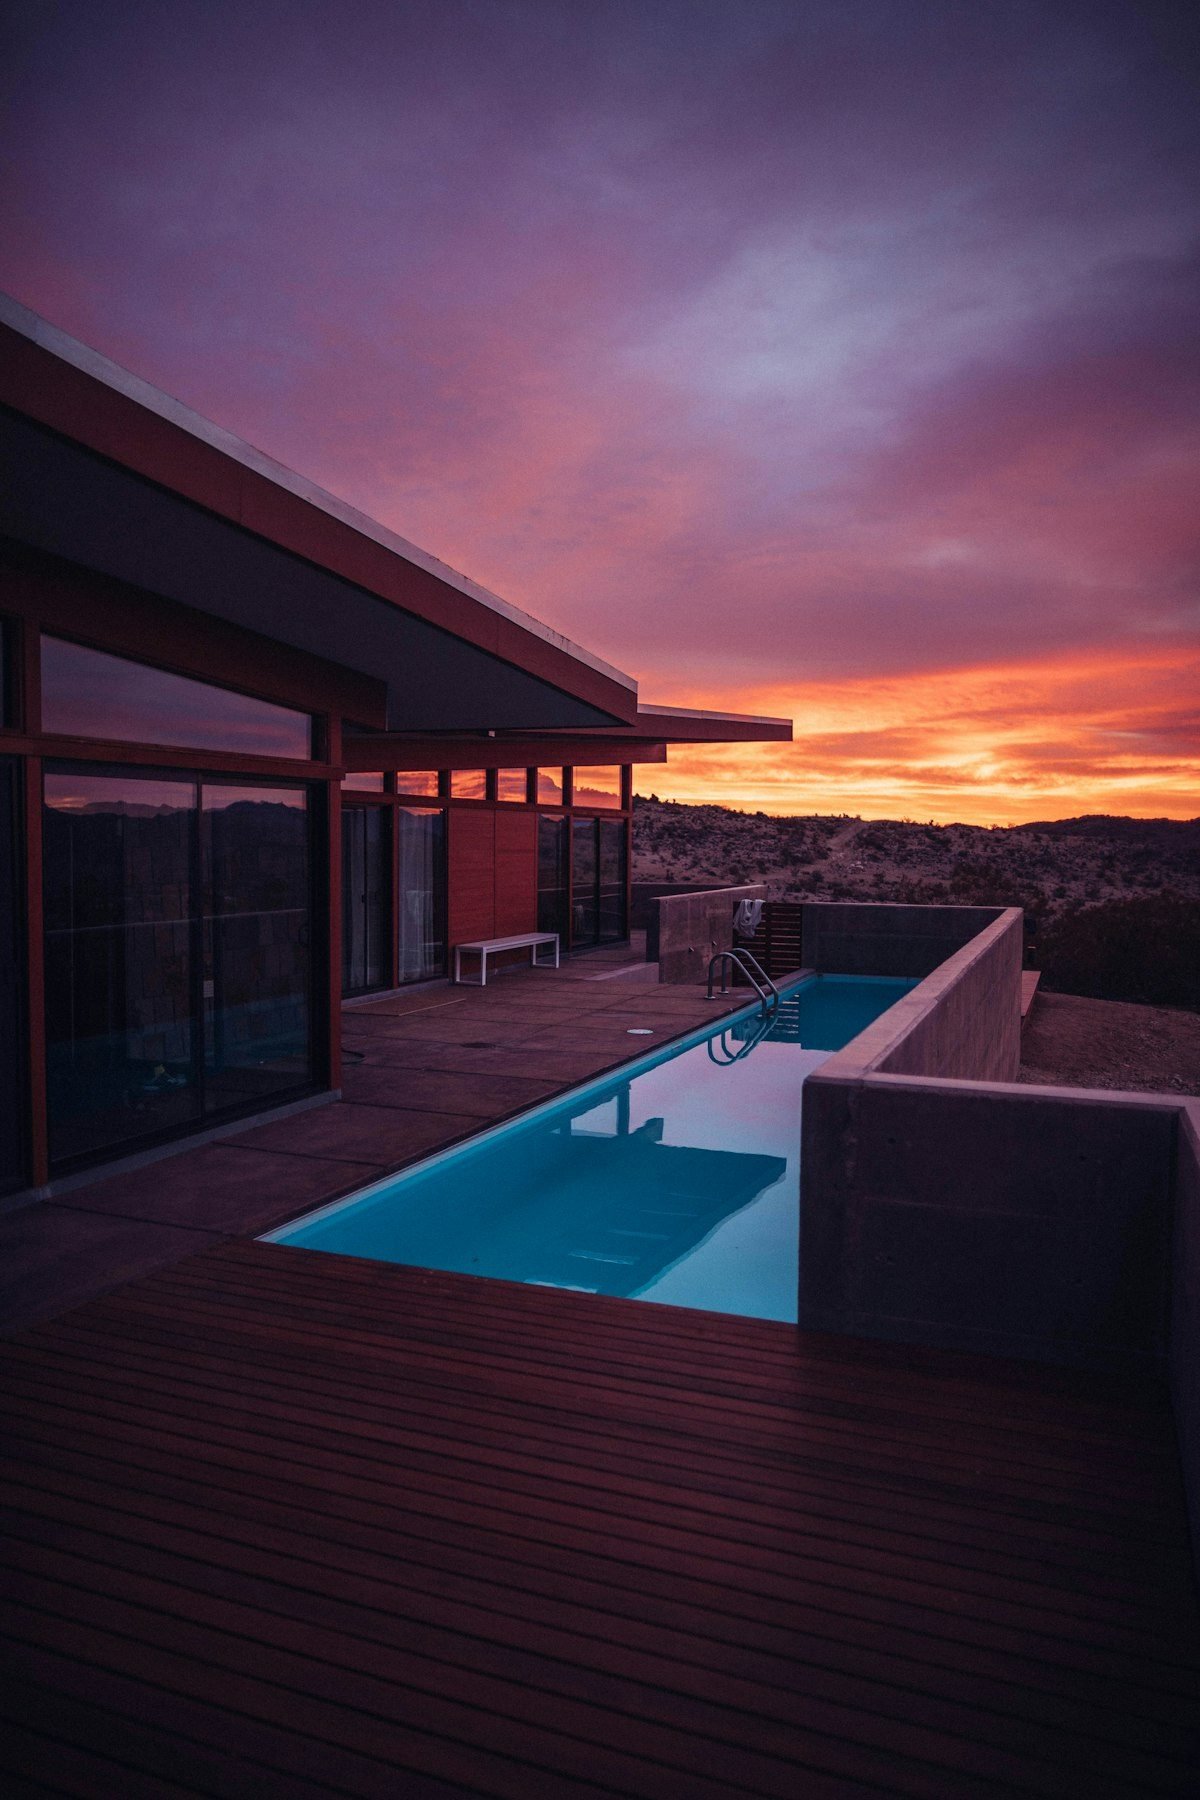
In professional landscape architecture, hardscaping provides the permanent bones, structural geometry, and functional foundation upon which all living flora rests. Without durable patios, graceful walkways, welcoming gathering terraces, and structural retaining walls, an outdoor space remains an undifferentiated sea of soil and grass—uninviting to foot traffic and prone to seasonal muddy erosion.
Yet, hardscaping is also the most physically demanding and unforgiving discipline in home improvement. Laying a paver patio or stone walkway requires excavating tons of heavy earth, hauling cubic yards of crushed aggregate base, and screeding sand with millimeter accuracy. Amateurs who rush through sub-base preparation quickly learn painful lessons: within two seasons, uneven settling produces tripping hazards, standing water pools against house foundations, and aggressive weeds sprout through crumbling sand joints.
Constructing enduring hardscapes is a master science of compaction mechanics, soil separation geology, and proper hydrological pitching. When built correctly on a rock-solid sub-base, a DIY paver patio or stone terrace will outlive the home itself—providing a breathtaking architectural gathering space that requires minimal maintenance.
This comprehensive master handbook demystifies the hardscaping craft. From excavation mathematics and laser grading to screeding leveling sand, cutting pavers with masonry saws, polymeric sand activation, and constructing safe, code-compliant fire pits, you will master the trade secrets of commercial landscape contractors.
Key Takeaways & Quick Summary
- Sub-base compaction is 90% of longevity: Patios fail from poor sub-base preparation, not surface paver quality; excavate 7 inches deep and compact crushed aggregate in 2-inch lifts.
- Slope and drainage physics: Always pitch hardscape surfaces away from house foundations at a minimum slope of 1 inch drop per 8 feet of linear run.
- Geotextile fabric separation: Install woven geotextile fabric between native soil and crushed gravel base to prevent aggregate from sinking into the subsoil over time.
- Polymeric sand jointing: Sweep polymeric sand into paver joints and activate with water; it hardens into a flexible, weed-proof mortar that locks pavers into a monolithic slab.
- Fire pit safety and thermal shock: Never construct a fire pit with river rocks or wet stones (which explode under steam pressure); line interior fire chambers with refractory firebrick.
- Hydrology and Excavation: The Physics of the Sub-Base
- Compaction Science: Crushed Stone Base and Bedding Sand
- Paver Installation, Edge Restraints, and Polymeric Sanding
- Fire Pit Construction: Thermal Safety and Refractory Engineering
- Comparative Decision Matrix
- Frequently Asked Questions
- Master Execution Roadmap & Troubleshooting
Hydrology and Excavation: The Physics of the Sub-Base
Calculating Slope and Pitch Away from Foundations
Never construct a patio dead flat. Standing rainwater will pool on the surface, causing slip hazards, algae growth, and efflorescence. Even worse, if pitched toward your home, rainwater will flood foundation footings and seep into basements.
Establish a mandatory drainage slope: drop the surface a minimum of 1/8-inch to 1/4-inch per linear foot (or 1 inch of vertical drop for every 8 feet of horizontal run) away from the house structure. Drive wooden stakes at the perimeter, attach mason’s string lines, and verify your drop with a line level or transit laser before picking up a shovel.
Excavation Depth Mathematics and Geotextile Armor
How deep must you excavate? The equation is exact: Paver thickness (typically 2-3/8 inches) + Bedding sand thickness (exactly 1 inch) + Compacted gravel base (4 inches for pedestrian patios, 6 inches for driveways) = Total excavation depth of 7 to 8 inches below final grade.
Once native subsoil is excavated to depth, smooth the subgrade and compact with a vibratory plate compactor. Line the entire excavated trench with heavy-duty woven geotextile fabric (such as Mirafi 500X). Geotextile fabric prevents heavy aggregate gravel from migrating downward into softer clay subsoil while allowing groundwater to drain freely—eliminating 95% of long-term patio settling.
Editorial Pro Tip: When implementing hydrology and excavation: the physics of the sub-base, consistency in planning and respecting material integrity yields far greater longevity than rushing to complete the work. Prioritize safety, ergonomic comfort, and enduring quality.
Compaction Science: Crushed Stone Base and Bedding Sand
The Crushed Aggregate Base (Item 4 / Road Base)
Never use rounded river gravel or clean decorative pebbles as your structural base; round stones act like ball bearings under load, shifting and rolling. You must utilize angular crushed stone aggregate containing stone dust (commonly sold as ‘Crushed Run,’ ‘Item 4,’ or ‘Class 5 base’).
Spread the crushed stone in layers no thicker than 2 inches at a time (‘lifts’). Dampen the gravel lightly with a garden hose mist, then run a rented 3,000-lb plate compactor across the entire area in overlapping crisscross passes until the base is as hard as concrete. Repeat lift by lift until a full 4 to 6 inches of compacted base is achieved.
Screeding the Bedding Sand: The One-Inch Pipe Method
Over your rock-hard compacted gravel base, spread 1 inch of coarse, angular concrete sand (ASTM C33 specification). Never use fine play sand or beach sand, which washes out and compacts inconsistently.
Lay two 1-inch outer diameter steel electrical conduit pipes (EMT) parallel across the base about 6 feet apart. Place a straight 8-foot aluminum screed board or 2×4 across the pipes, and pull the board toward you in a smooth sawing motion. This creates a perfectly flat, uniform 1-inch sand bedding bed. Once screeded, never step on the sand; begin laying pavers directly off the screeded plane.
Editorial Pro Tip: When implementing compaction science: crushed stone base and bedding sand, consistency in planning and respecting material integrity yields far greater longevity than rushing to complete the work. Prioritize safety, ergonomic comfort, and enduring quality.
Paver Installation, Edge Restraints, and Polymeric Sanding
Laying Patterns, Spacing, and Precision Masonry Cutting
Select a structural laying pattern that distributes load. Running bond, 45-degree herringbone, and multi-piece random modular patterns provide excellent interlock. Lay pavers by dropping them gently into place against the neighboring paver with a forward clicking motion; do not slide pavers across the sand, which plows ridges into your bedding layer.
For perimeter border cuts, rent a wet diamond-blade masonry saw or use an angle grinder equipped with a continuous-rim segmented diamond blade. Mark your cut lines with a lumber crayon, wear eye and ear protection, and cut slowly with a steady trickle of water to suppress hazardous silica dust.
Rigid Edge Restraints and Polymeric Joint Activation
Without lateral confinement, the outer borders of a paver patio will inevitably spread apart under foot traffic. Install heavy-duty plastic or aluminum commercial paver edge restraints (Snap-Edge or Dimex) hard against the outer paver border, staking them into the gravel base with 10-inch steel spikes every 12 inches.
Once edges are locked, sweep high-performance polymeric sand (such as Alliance Gator Super Sand) across the dry pavers, working it completely into all joints with a push broom. Run the plate compactor (fitted with a protective rubber pad) over the pavers to vibrate the sand deep into the joint crevices. Sweep off every speck of dust from the paver surface, then mist gently with water to activate the polymers. The sand cures into a flexible, rubbery matrix that repels ants, halts weeds, and locks pavers together.
Editorial Pro Tip: When implementing paver installation, edge restraints, and polymeric sanding, consistency in planning and respecting material integrity yields far greater longevity than rushing to complete the work. Prioritize safety, ergonomic comfort, and enduring quality.
Fire Pit Construction: Thermal Safety and Refractory Engineering
The Explosive Danger of Trapped Moisture in Stones
A critical safety warning when building a DIY backyard fire pit: Never use river rocks, limestone, wet creek stones, or standard landscaping pea gravel to line the interior fire chamber. Porous rocks contain trapped microscopic moisture pockets; when exposed to 800°F fire temperatures, trapped water flash-converts to superheated steam, causing the stones to violently shatter and explode like shrapnel.
Always construct the interior burning chamber using high-density refractory clay firebricks rated for 2,000°F, bonded together with refractory mortar, or install a heavy-gauge welded steel fire ring liner with a 2-inch thermal air gap between the steel and the decorative outer concrete retaining blocks.
Airflow Vents and Lava Rock Sub-Bases
For efficient, smokeless combustion, a fire pit requires continuous fresh oxygen intake. Incorporate two to four small air intake vent slots at the absolute base of the fire pit walls.
Fill the bottom of the fire pit with 4 inches of coarse lava rock or crushed volcanic pumice. Lava rock is 100% heat-stable, provides excellent drainage for rainwater, and elevates burning logs for maximum oxygenation.
Editorial Pro Tip: When implementing fire pit construction: thermal safety and refractory engineering, consistency in planning and respecting material integrity yields far greater longevity than rushing to complete the work. Prioritize safety, ergonomic comfort, and enduring quality.
Comparative Decision Matrix
Use this structured comparison to weigh critical options, material requirements, cost allocations, and long-term performance.
| Hardscaping Material | Material Cost (per sq ft) | DIY Skill Level | Expected Lifespan | Maintenance Requirements |
|---|---|---|---|---|
| Concrete Pavers (Standard) | $3.50 – $6.00 | Intermediate (requires compaction) | 30 – 40+ years | Low (re-sweep polymeric sand every 5 yrs) |
| Natural Bluestone / Flagstone | $8.00 – $15.00 | Intermediate-Advanced (irregular shapes) | 50+ years | Very Low (occasional pressure washing) |
| Decomposed Granite / Crushed Stone | $1.20 – $2.50 | Beginner (simple raking & tamping) | 10 – 15 years | Moderate (occasional top-dressing & weeding) |
| Permeable Eco-Pavers | $5.00 – $8.50 | Intermediate (requires deep gravel trench) | 30+ years | Low (clears 100% of stormwater runoff) |
Frequently Asked Questions
Can I lay a new paver patio directly over an existing concrete slab?
Yes, provided the concrete slab is structurally sound and free of massive settling cracks. Drill drainage weep holes through the concrete at low points, install an adhesive perimeter border, and use thin-set mortar or a thin 1-inch screeded sand bed with geotextile fabric. Ensure the added height does not block exterior doorway thresholds.
How do I clean efflorescence (white powdery haze) off new pavers?
Efflorescence is natural salt migration that occurs as concrete cures in the presence of moisture. In most cases, weathering rain and foot traffic naturally wash it away within 6 to 12 months. For immediate removal, apply a specialized mild acidic efflorescence cleaner, scrub with a stiff nylon brush, and rinse thoroughly with clean water.
What is the best way to prevent weeds in hardscape joints?
Polymeric sand is the single most effective weed defense. Because it cures hard into a solid resin matrix, weed seeds blown by the wind cannot penetrate down into the joint to take root. If moss or tiny weeds appear in damp shady spots, spray with a concentrated 20% agricultural vinegar solution.
How close can a fire pit be to a house or wooden deck?
Most municipal building codes and fire safety regulations mandate that open-flame wood-burning fire pits must be positioned at a minimum clearance distance of 15 to 25 feet away from any structure, wooden deck, overhanging tree branches, or property fence line. Always verify local fire ordinances before excavation.
Do I really need a plate compactor, or can I use a hand tamper?
For a small 4×4-foot garbage can pad, a hand tamper suffices. For any patio or walkway larger than 50 square feet, a motorized plate compactor is 100% mandatory. A hand tamper exerts only ~50 lbs of force per blow, leaving soft pockets; a plate compactor delivers 3,000 to 4,000 lbs of dynamic centrifugal force, ensuring your patio will never settle or shift.
Master Execution Roadmap & Preventive Troubleshooting
Critical Phase Milestones and Quality Verification
Every master-level home and design undertaking succeeds or stumbles on the discipline of its initial verification phase. Before committing resources or making irrevocable physical changes, establish a clear tolerance baseline. For structural, architectural, or soil-based projects, measure twice, verify microclimates, test load capabilities, and review long-term environmental factors. Never bypass diagnostic staging; spending 48 hours observing ambient sunlight, moisture patterns, or surface moisture barriers prevents thousands of dollars in premature remedial repairs.
Establish strict quality gates at the 25%, 50%, and 75% completion intervals. If a joint is out of square, a soil amendment shows abnormal alkalinity, or an undercoat fails adhesion testing, resolve the discrepancy immediately rather than hoping finish coats or surface dressing will conceal underlying flaws. True professional craftsmanship is distinguished by the uncompromising rigor applied to the structural layers that casual observers never see.
Common Mistakes, Diagnostic Indicators, and Solutions
One of the most pervasive missteps among homeowners is material over-saturation—whether that entails overloading biological soil with synthetic nitrogen, rushing multi-coat paint applications without complete drying windows, or crowding decorative furnishings without sufficient negative space. When materials cannot breathe, cure, or establish natural equilibrium, early failure is inevitable. Maintain patient curing windows, ensure ample ventilation, and give living ecosystems the biological time required to stabilize.
Another frequent hazard is neglecting ongoing preventative maintenance cycles. Design systems and home environments operate under dynamic seasonal forces—thermal expansion, humidity fluctuations, UV exposure, and microbial activity continuously alter physical dimensions and chemical balances. Formulate a semi-annual inspection schedule: inspect caulking seals, monitor organic mulch decomposition, audit electrical connections, and service mechanical hardware before minor wear deteriorates into major structural failure.
Final Verdict & Practical Action Plan
Hardscaping is the ultimate expression of human intention imposed on the domestic landscape. It transforms soft, shifting earth into crisp, enduring architectural spaces designed for celebration, rest, and communal gathering.
By respecting hydrological slope, compacting your base in rigorous lifts, locking edges with commercial restraints, and finishing with polymeric sand, your DIY hardscape will stand as a rock-solid monument to quality craftsmanship for decades to come.